

This was the second 1/72 i made after the Ferdinand, it's a newer Dragon kit and which is clearly visible when it comes to the detail of this kit. There was quite alot of parts in this kit, considering it is small scale, so it took abit longer to build, but still nothing compared to larger scale kits.
Assembly

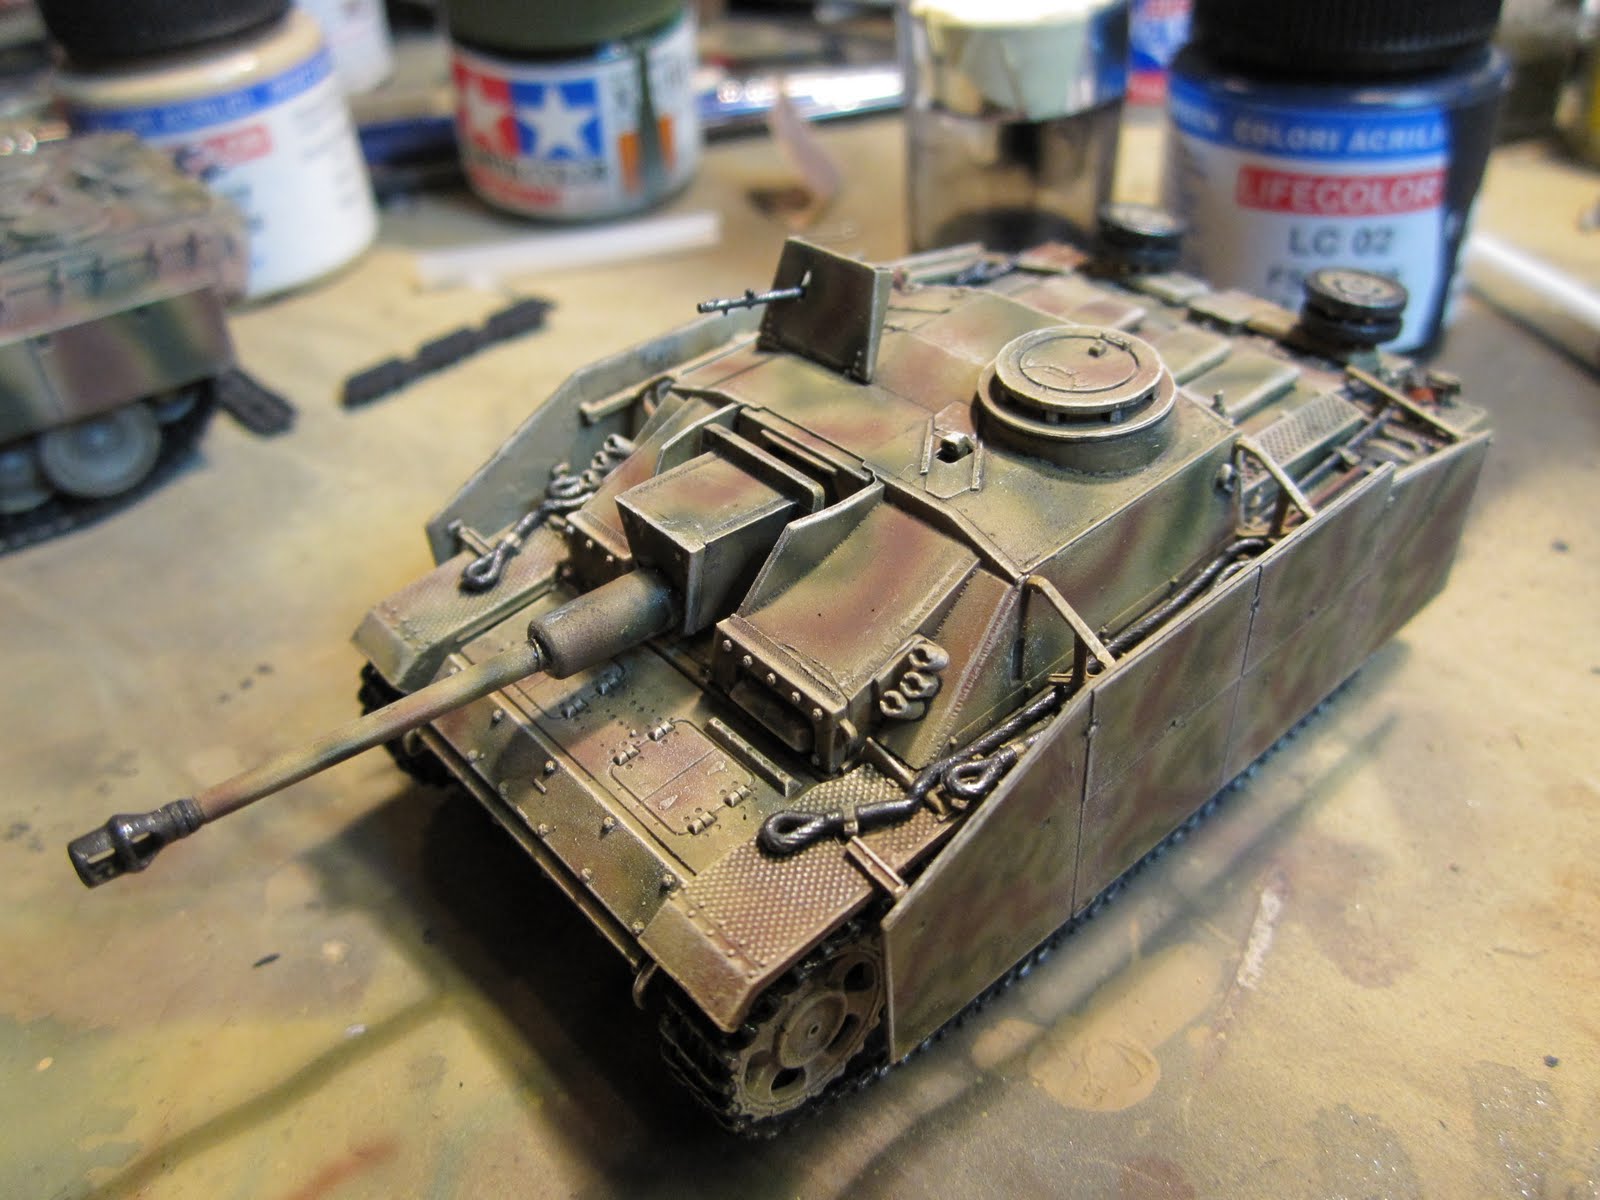
The detail on this kit is, as mention above, quite nice, of course at the time i build this i had only the Ferdinand to compare to, which got quite alot less detail than this Stug.
As all new Dragon kits the parts fit perfectly together and they even included some photo-etched parts, which just add more detail to this kit.
The instruction for this kit was also very good, not every Dragon instruction is, and since there was some small parts in this kit it was nice not to have to deal with a poor instruction manual.

The canon assembly is abit weird and can fuck up if you use super glue :p but non the less it works and you will be able to move the canon up and down.
Well overall i can only recommend this kit to anyone, but its probably not a beginner kit, but if got some experience and if you are able to follow instruction i don't see how this kit will be any problem to complete.

 |
| Compared to Ferdinand |
As mention in a previous post, my painting technique is inspired by Michaels from OliveKhakiGrey because he got a fantastic style to use when painting small scale models to use for Wargaming so credit to him.

First i prime the entire model using Tamiya Nato Brown, then afterwards Dark Yellow on top of that for use as the camo base color. Most german WWII camo-schemes was sand basecolor and then olive green and red brown disruptive pattern on top, later in the war the "ambush" pattern was also widely used on basicly all vehicles. But if you use sand, green and brown you can't possible get it wrong.
I painted the hull and the side-skirts in different patterns to spice it up abit :p and i think the result looks decent considering this was my second go at 1/72 airbrush painting.


Afterwards when the paint is properly dry (which it israther quickly when airbrushing with acrylics) i drybrush with a sandy color, you could probably just use the base color here or maybe find a sand color which is abit lighter than the basecolor. Then comes the black wash, you can try to with different solutions the more black you add the darker the model will become.


I try not to make the wash to dark, which isn't always succesfull :)
When the wash is dry, and for the love of god give it time to dry properly, it's time for the second highlight, I usually use a rather light sand or buff color and just drybrush the entire model to catch the edges to really make the details stand out. The model is now done and it's time to paint the tools, wires etc. and to glue on the tracks. I just paint the tracks black and the drybrush them lightly with a gunmetal color, it doesn't look realistic (rusty, dirty etc.) but for displaying and/or playing wargames i think it does the trick nicely, it would look weird if the tracks were completelydirty and rusty and the rest of the tank is all clean and new.
Finished


Overall nice kit i recommend it to everyone, which is also why i have bought a second one
No comments:
Post a Comment